Supercharge Your Local AI

Installing Ollama with GPU Support on macOS and Windows
Running large language models locally is no longer a science project—Ollama makes it practical. And if your machine has a GPU, you’ll unlock the kind of performance that rivals the cloud.
In this guide, we’ll show you how to install Ollama on both macOS and Windows with GPU acceleration. You’ll learn how to:
- Verify your GPU is being used
- Run the Qwen model (a powerful general-purpose LLM)
- Use
curlto test your local model - Add a beautiful front-end with Open WebUI
Understanding how to deploy and interact with local models is a crucial DevOps skill, especially as teams seek more control, lower latency, and reduced dependency on cloud APIs.
While I'm a huge proponent of using Docker for everything, it doesn't support GPUs on a Mac; therefore, you need to install it natively.
🧰 Prerequisites: Why These Matter
To run LLMs effectively on your machine, you need:
- A macOS or Windows 11 machine
- A GPU (Apple Silicon or NVIDIA for Windows)
- Enough disk space (models can be several GB)
- Internet access for installation (but no need to stay online afterward)
This setup enables you to develop and test AI workflows without paying per token. It’s fast, private, and ideal for edge environments or development sandboxes.
🛠️ Installing Ollama With GPU Acceleration
macOS (Metal-backed GPU acceleration)
On macOS, Ollama uses Apple’s Metal API to take advantage of the GPU. This happens automatically; no drivers or extra configuration needed.
Install Ollama:
brew install ollama
Why? Installing via Homebrew ensures updates are managed cleanly and the install is system-wide.
Start the Ollama service:
ollama serve
Ollama runs as a local server on port 11434. This is your model's API—you can query it with curl, WebUI, or your own apps.Test it out with curl
curl http://localhost:11434Will return:
Ollama is runningWindows 11 (CUDA via WSL2)
On Windows, the best way to access your GPU is through WSL2 with CUDA support.
Install WSL and Ubuntu:
wsl --install -d Ubuntu
Install Ollama inside WSL:
curl -fsSL https://ollama.com/install.sh | sh
WSL2 lets you run a full Linux environment inside Windows—vital because Ollama's GPU acceleration depends on Linux drivers.
Install NVIDIA drivers for WSL: Official CUDA guide
These drivers enable GPU passthrough into WSL so Ollama can use CUDA.
After installation, test:
nvidia-smi
You should see your GPU listed. If not, you’ll need to update drivers or check BIOS virtualization settings.
Run the Ollama server:
ollama serve
Just like macOS, this spins up the Ollama API at http://localhost:11434.Test it out with curl
curl http://localhost:11434Will return:
Ollama is running📥 Install the Qwen Model
Qwen is a strong general-purpose LLM from Alibaba, with competitive accuracy and a relatively compact footprint. Great for local experimentation.
ollama pull qwen
This downloads the model layers into your local cache. Once installed, it's ready to run—no internet required. Ideal for offline use or isolated environments.
Confirm GPU usage:
ollama run qwen
Look for on a Mac:
GPU name: Apple M1Or on windows:
Using GPU backend: CUDA
Why this matters: If you don’t see this, Ollama might be falling back to CPU, check your CUDA setup. Many models will work on CPU—but slowly. GPU acceleration is the key to real-time performance.
🧪 Test With curl
Make sure this works:
curl http://localhost:11434/api/generate -d '{
  "model": "qwen",
  "prompt": "Explain containers like I’m five."
}'
This command sends a simple JSON payload to your local Ollama server. The response will stream back token-by-token.
Use this to automate testing, hook up scripts, or build your own front-end. You now own your entire inference pipeline.
📊 How to Tell It’s Using the GPU
macOS:
- Open Activity Monitor → GPU tab
- You’ll see
ollamaorserveusing GPU resources
Windows/WSL:
- Run
nvidia-smiwhile Ollama is generating - GPU usage (VRAM and compute) will increase
Why this matters: many models will work on a CPU, but slowly. GPU acceleration is the key to real-time performance.
💬 Adding Open WebUI for a Full Chat Interface
Command-line is powerful—but not always the most comfortable interface. Open WebUI is a lightweight, self-hosted front-end that provides a ChatGPT-style UI, running entirely on your machine.
This is great for:
- Less technical users
- Prototyping prompts
- Demos or internal tools
Install Docker
macOS Docker install
Windows Docker install
Start WebUI with Ollama support
I'll use docker compose
Create a docker-compose.yaml file
services:
  open-webui:
    image: ghcr.io/open-webui/open-webui:main
    container_name: open-webui
    ports:
      - "8080:8080"
    volumes:
      - open-webui-data:/app/backend/data
    environment:
      - OLLAMA_BASE_URL=http://host.docker.internal:11434
    restart: unless-stopped

volumes:
  open-webui-data:
    driver: local
host.docker.internal bridges Docker and your host system. It ensures the container can talk to the Ollama server running outside Docker.On WSL, you may need to uselocalhostor find the WSL IP (hostname -I) if Docker networking isn’t bridged.
Start it up using docker compose up -d and see the logs with docker compose logs -f
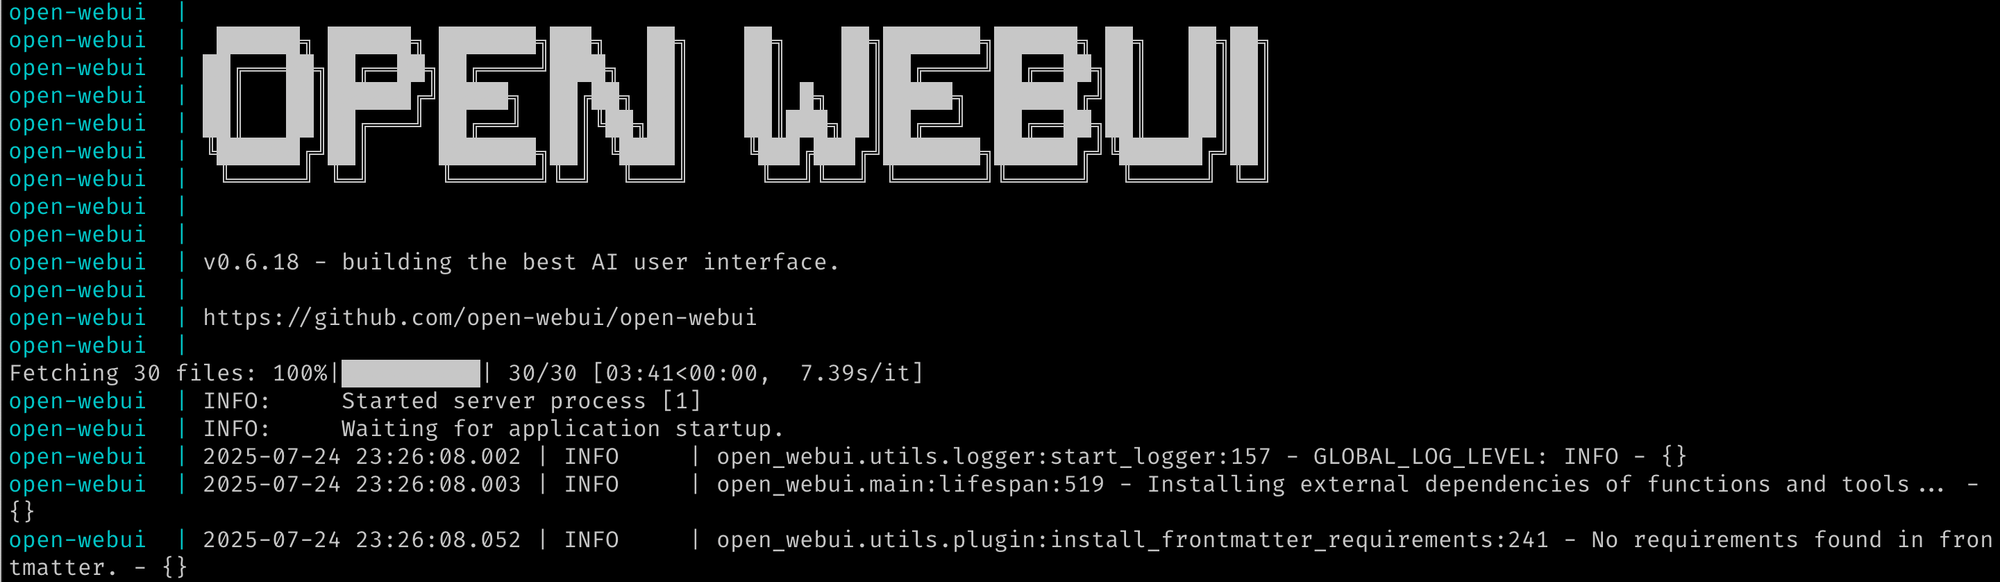
Open http://localhost:8080 in your browser.
You’ve now created your own self-hosted ChatGPT that uses your hardware and keeps your data private.
⚠️ Troubleshooting
If WebUI can’t connect to Ollama:
- Check the
OLLAMA_BASE_URL
🧠 Final Thoughts: Why This Setup Is a DevOps Superpower
Running LLMs locally might sound like a hobbyist exercise—but it’s quickly becoming a strategic DevOps capability:
- Avoid vendor lock-in
- Low-latency inference
- Data privacy
- Rapid iteration
Ollama and Open WebUI make this all accessible with minimal friction.
📅 What’s Next
In future Everyday DevOps posts, we’ll dive into:
- Fine-tuning Qwen with your own documents
- Running Ollama + WebUI inside Kubernetes
- Comparing LLaMA 3, Gemma, and Qwen on real tasks
- Automating local inference with GitHub Actions